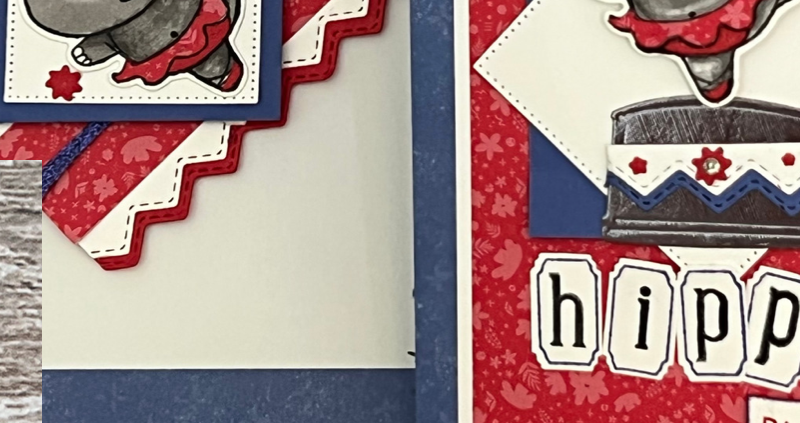
by jacjac66 | Oct 3, 2022 | Uncategorized
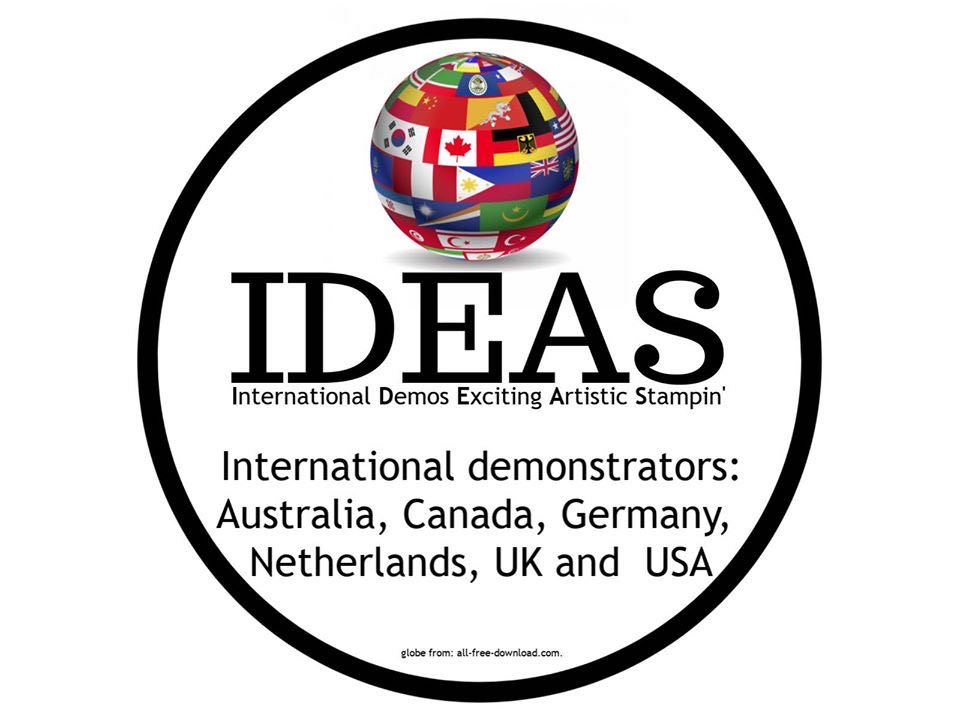
Hello and welcome to this month’s IDEAS Blog Hop (International Exciting Artistic Stampin’). We are a group of Global Demonstrators who come together each month to create a fantastic Mega Tutorials Bundle, which is available to customers and team members. This...
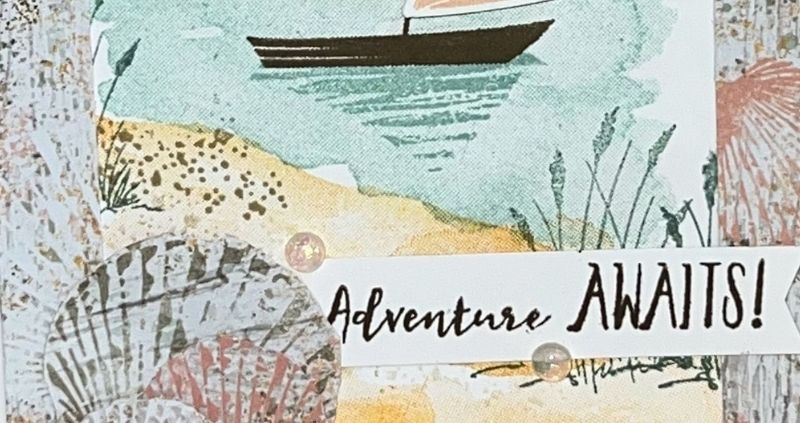
by jacjac66 | Sep 12, 2022 | Uncategorized
Hello and welcome to my blog and to this month’s IDEAS Blog Hop (International Exciting Artistic Stampin’). We are a group of Global Demonstrators who come together each month to bring you a fantastic Mega Bundle Tutorial. You can see a sneak peak of all the...
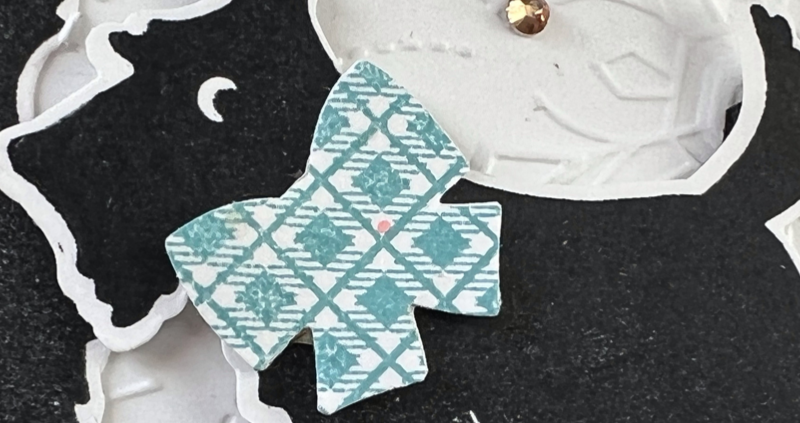
by jacjac66 | Aug 1, 2022 | Uncategorized
Hello and welcome to my blog and to this month’s IDEAS Blog Hop (International Exciting Artistic Stampin’). We are a group of Global Demonstrators who come together each month to bring you a fantastic Mega Bundle Tutorial, which is available to customers...
by jacjac66 | Jul 11, 2022 | Uncategorized
Hello and welcome to this month’s IDEAS Blog Hop (International Exciting Artistic Stampin’). We are a group of Global Demonstrators who come together each month to create a fantastic Mega Tutorials Bundle, which is available to customers and team members. This...
by jacjac66 | Jun 19, 2022 | Uncategorized
Hello and welcome to my blog, my name is Jacqui and I live in a rural village in the Uk on the Suffolk / Norfolk border. Today I am joining a group of global demonstrators who are taking part in the Kre8tors Blog Hop. The theme for June’s hop is a CASE TicTacToe...